Do you have a great app idea and are looking to develop it?
No matter how creative it is, it remains something abstract – only describable with words or simple sketches. While that may suffice in the beginning, potential investors need more than that initial pitch. In fact, they may have heard the same idea from multiple other sources! What will set you apart from the crowd is an actual workable product – something that can be seen, heard, experienced, and tried. So that’s exactly what you set out to do – build your app!
Oh, but wait! You’ve now spent months of work and considerable financial resources developing a workable app – but the client/investor/user doesn’t like it! Fixing the app in such cases often means redoing the whole thing. All of this could be avoided by developing an app prototype!
What is an app prototype?
An app prototype is a viable model of a final product used to test basic functionalities and usability. Making a simpler and smaller version of the desired app allows for a much faster and less expensive process that still ends up producing a significant result. The prototype need not be perfect or contain all the features you want in the app. Its point is to see how the product would function in real life. Not only that – you will also understand how complex the development could get, and if your idea is in fact feasible. Therefore, an app prototype is an incredibly important and powerful tool – for both the clients and the developers!
Building an app prototype – Key process steps
Now that you know the value of a product prototype, learn more about the process of building it.
1. Market research
Before starting the whole development process, you need to know if your app actually helps users solve an issue. This seems easy to most – “of course I know what my app does”! In reality, developers who don’t do their due diligence end up failing. Taking your time to do the market research is critical. With it, you gain important insight into what the market is missing, what your place in that market would be (i.e. determine your audience), and who your competitors are. How are you different from the competition and what novelties do you bring to the table?
2. Define key features
By doing the market research you’ll already gain some idea of what your app features should be. By defining the core requirements of your app you’ll end up with a whole list of features that you want to include in your app. However, implementing all those features takes time and sometimes significant effort – if a certain functionality is difficult to execute. Hence, for the app prototype, it’s best to choose a few key features to develop first. If you’re having difficulty narrowing down the selection, check out our article on feature prioritization!
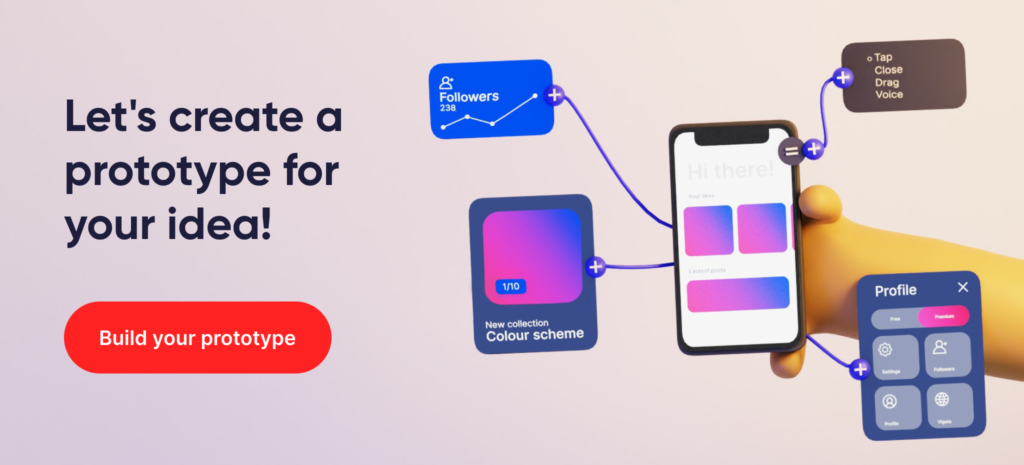
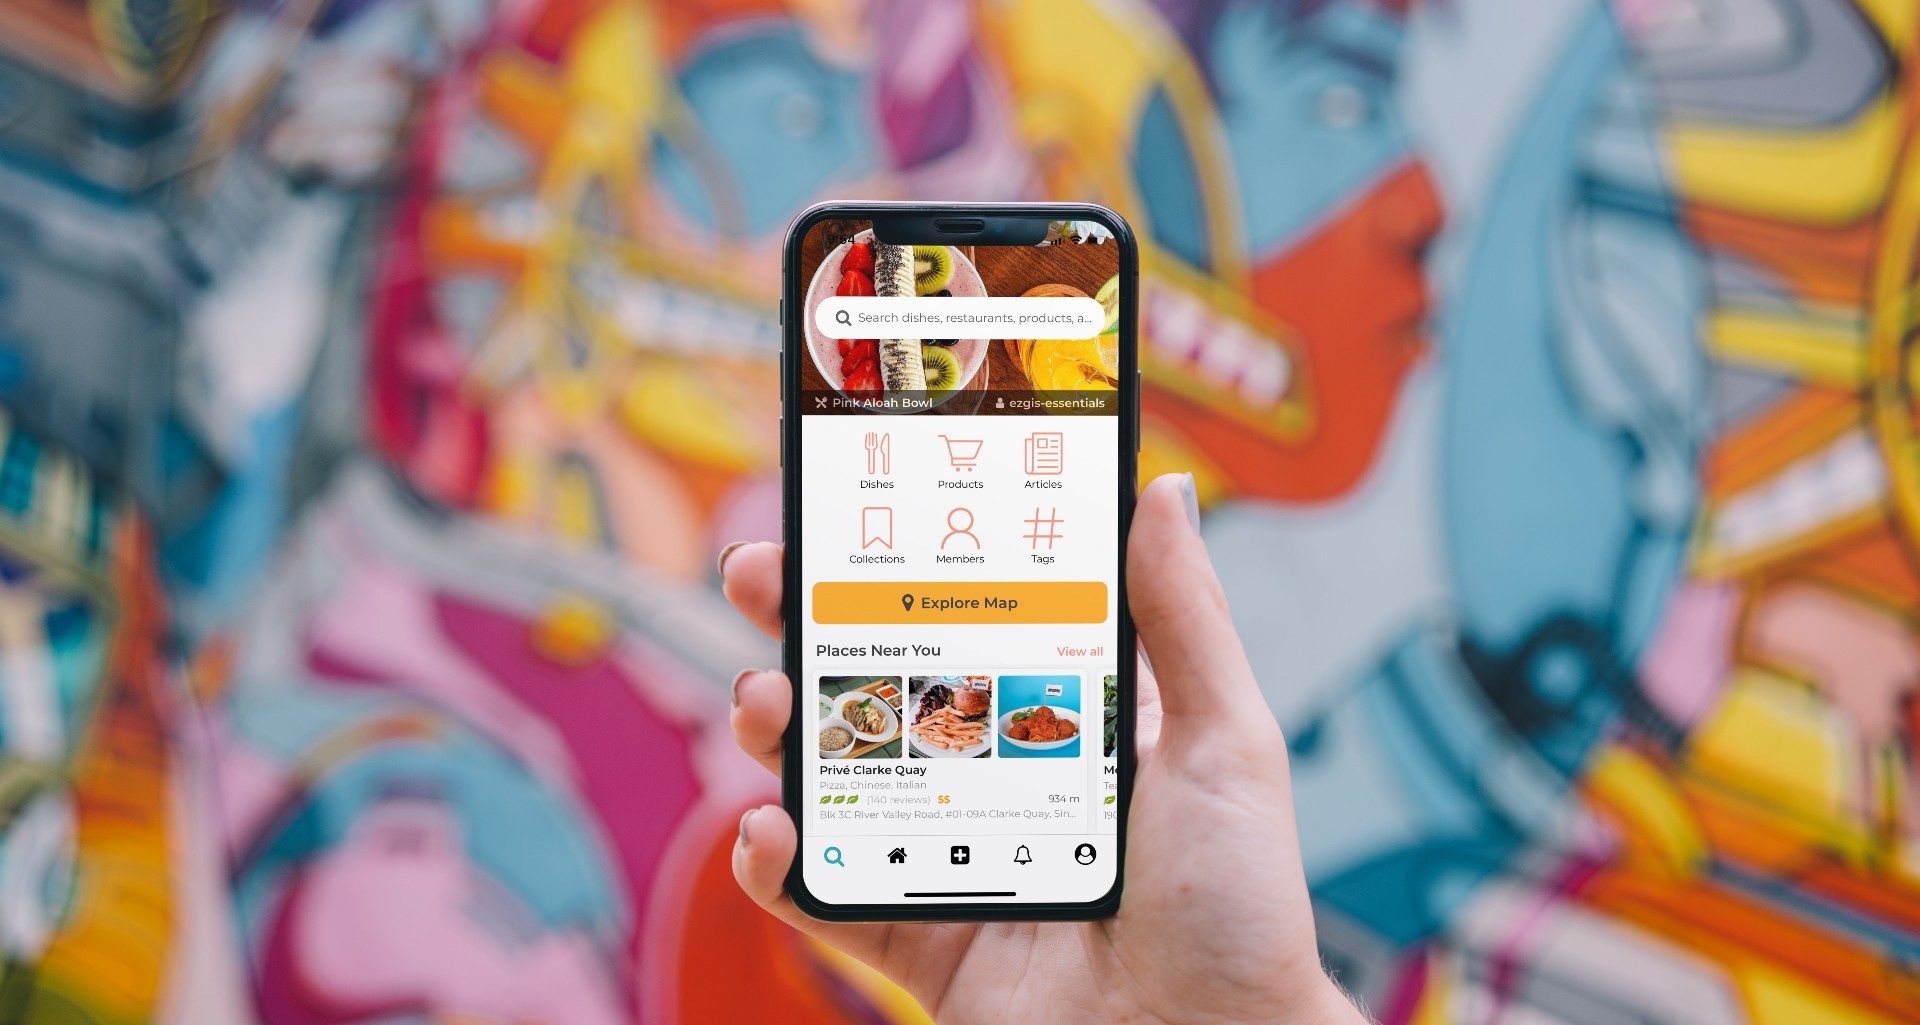
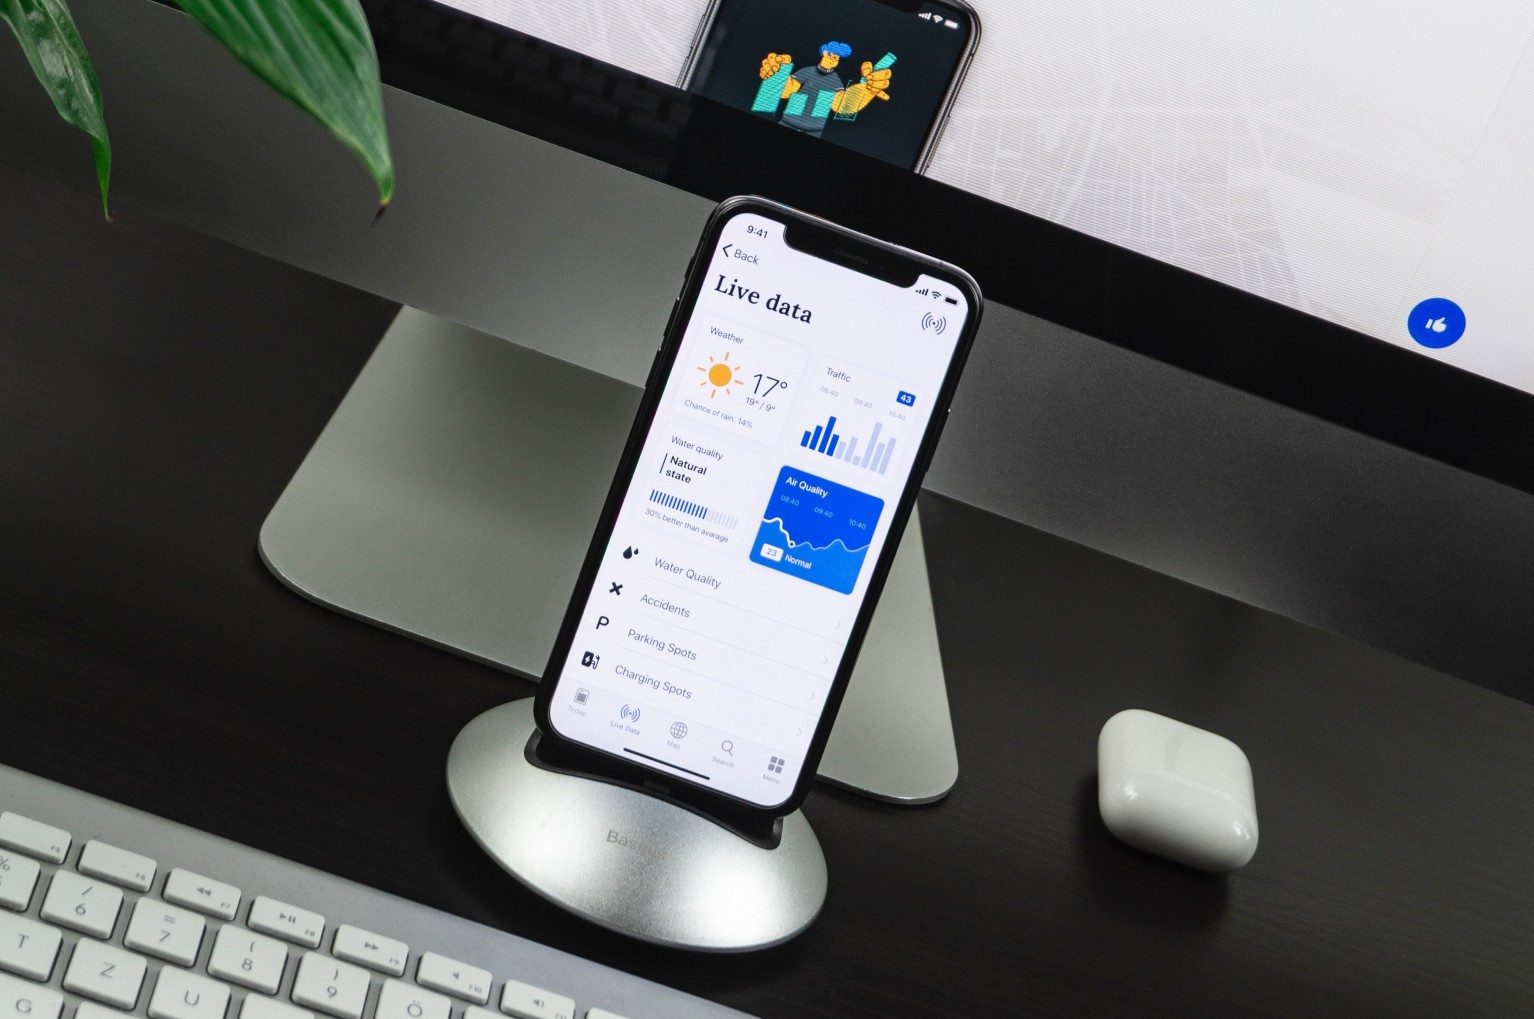
3. Initial mobile app prototype
Now that you’ve identified your key features, it’s time to think about the user design and experience. It’s best to start with some screen design sketches to get an idea of the layout and structure of the app prototype. Once you’ve identified the user flows and information inputs and outputs, you can start digitizing your sketches and wireframes. To that purpose, there exist a number of mobile app prototyping tools such as: Adobe XD, Flinto, Framer, Xcode, InvisionApp, and many more. Bear in mind that you don’t actually have to do any coding to create the app prototype! If you want to get as close to the real feel of a mobile app, there are various tools that help you create a clickable app prototype!
4. Test and adjust
At this point, you have a ready-to-go app prototype to show investors and potential users. Finally, it’s time for initial impressions! The stakeholders and potential users evaluate the app prototype and share opinions about usability and usefulness, as well as annoyances and problems. Criticism is just as valuable as praise, as it will establish where exactly changes must be made to improve the app prototype. It’s much easier, faster, and cheaper to execute modifications at this point in an app’s development.
5. Iterate
If the changes implemented at the end of stage 4 still do not meet stakeholders’ and users’ expectations, there’s no need to be discouraged! You can keep testing and adjusting until there’s a general consensus that you have a winner! You may even be inspired with new ideas to try out. Now is the time to introduce and test additional concepts which can enhance your product.
Keep an open mind!
Your app is naturally your passion project! But while it’s great that you have so much faith and excitement about developing your idea, it’s equally necessary to have a certain impartiality. Getting attached to a certain set of features or a specific design can become an obstacle to getting an actual functional product. A large part of creating an app prototype means challenging your ideas, experimenting, and learning new things along the way.
If you are new to the app game and don’t know where to start, you should consider outsourcing the development to a dedicated app development company. We here at Redvike understand the process of custom mobile app development, and have the expertise to help you develop the app prototype you have envisioned!
Cookies help us deliver our services and improve your experience. We use them to analyze our traffic and customize content and ads. By using our services, you agree to our use of cookies. You can turn cookies off by changing your browser settings. Read our Privacy policy.
Functional
Always active
The technical storage or access is strictly necessary for the legitimate purpose of enabling the use of a specific service explicitly requested by the subscriber or user, or for the sole purpose of carrying out the transmission of a communication over an electronic communications network.
Preferences
The technical storage or access is necessary for the legitimate purpose of storing preferences that are not requested by the subscriber or user.
Statistics
The technical storage or access that is used exclusively for statistical purposes.The technical storage or access that is used exclusively for anonymous statistical purposes. Without a subpoena, voluntary compliance on the part of your Internet Service Provider, or additional records from a third party, information stored or retrieved for this purpose alone cannot usually be used to identify you.
Marketing
The technical storage or access is required to create user profiles to send advertising, or to track the user on a website or across several websites for similar marketing purposes.